
Broken links are an instant killer for your site’s SEO ranking. Few things turn Google against you more quickly than 404 error pages, especially when they come in large numbers.
A variety of issues can cause 404 “page not found” errors, including everything from mistyped URLs to deleted content and incorrectly copy-pasted links. WordPress is generally pretty good at keeping things neat and tidy, but the larger your blog becomes and the more you dig into customization, the more likely you are to create these errors.
Smart SEO marketing practices recommend that redirects should be put in place any time you encounter a 404 page. This keeps search engines like Google happy (not to mention your site visitors), which, in turn, boosts your SEO rating and brings in more traffic. It’s surprisingly easy to add these redirects to WordPress, as well. We’ll cover all the basics below.
#Why Are 404 Pages Bad?
When a search engine spider crawls your website and encounters the 404 error, it makes a note of it. When the crawl is complete, the spider adds up all of these notes and weighs them to determine your site’s SEO rank. The more 404 errors you have, the worse your rank will become, it’s that simple.
Lowering SEO scores based on 404 errors is a good practice to keep the web as optimally functional as possible. As a reader, do you enjoy clicking dead links? Of course not, no one does. So, to discourage this from happening, Google and other search engines “punish” sites with too many broken links, dropping down the results page until they disappear entirely.
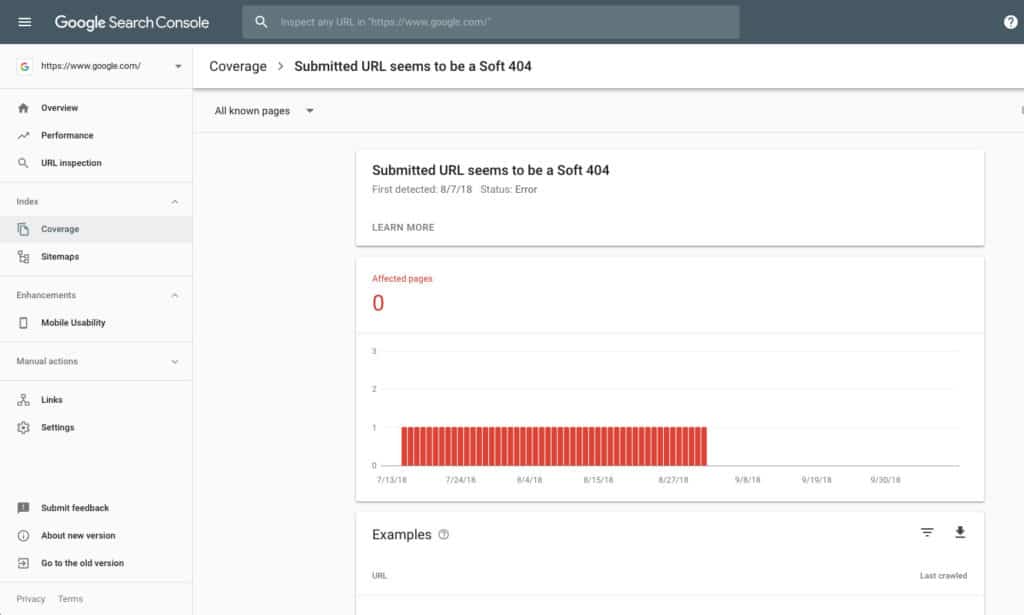
This can have a negative effect on well-functioning sites, as well. All you have to do is leave a few 404 pages up, and watch your rating go down (we recommend you take our word for it and avoid this type of experiments, however). If you stay on top of things and don’t create 404s in the first place, you’ll never have to worry about this dip in traffic.
#Basics of WordPress Redirects
Sometimes broken links are created when a blog changes URLs. This is a perfectly routine occurrence, but it should be dealt with as quickly as possible to avoid SEO penalties.
WordPress redirects let you send search engines and visitors who would otherwise encounter a 404 error page directly to relevant content. It doesn’t matter what caused the missing content–only that a solution is present and actively patching things up.
If a link to content on your own site is broken, you can, of course, change where the URL points to fix it directly. This isn’t always the case, however, as sometimes content can’t be edited, or it’s hosted on an external server. Either way, setting up a redirect is a good idea, as it’s possible (and healthy) that outside blogs have linked back to your page. They may not edit their old content, which would lead to 404 pages when visitors reach your site.
If you run into any of the following problems while managing your site, chances are you need to seriously consider adding WordPress redirects.
- Pages which are unpublished are inactive– Anyone who bookmarks or types in a familiar URL to your content may run into an error page if you move something around. Putting a redirect in place ensures they always find what they’re looking for.
- Website maintenance– Ever had to take parts or all of your WordPress site down to do a little work? It happens from time to time! Redirects can keep visitors happy while you improve things behind the scenes.
- You care about SEO rankings – We can’t state this enough: having good SEO will make or break your success on the web. Having even one 404 error page can harm that. You can also use various SEO Tools to keep an eye on your redirect issues.
#Types of redirects
WordPress supports multiple types of redirects, each of them being used for a slightly different purpose. While they all perform the same basic function in the eyes of the website visitor, the different codes serve to tell search engines how to index content in the future.
- 301 redirects – A permanent redirect that tells search engines to focus on the page being redirected to, thus giving it 90% of the SEO ranking power.
- 302 redirect – A temporary redirect that tells search engines the content on the redirecting page will return at some point, so don’t discount it entirely.
- 303 redirect – Some pages store one-time information, such as form data on login pages. A 303 redirect prevents those pages from being refreshed or saved, telling visitors that if they submitted information, they should visit a secondary, temporary URL and change information there, as well.
- 307 redirect – Functionally similar to 302 redirects. The only difference between 307 and 302 is that 307 guarantees that the method and the body will not be changed when the redirected request is made.
- 308 redirect – A permanent version of a 307 redirect.
Most WordPress redirects are of the 301 variety, as this is by far the most commonly deployed type. You can safely ignore most of the other codes unless you know your site has a specific and unique situation.
#Setting Up Redirects in WordPress
If you know you’ve moved content, or you anticipate changing domains, you should seriously consider setting up 301 redirects, which are permanent. Below are the best methods to do that.
#Edit the .htaccess file
The fastest but more technical method of setting up a WordPress redirect is to edit your website’s .htaccess file. This small file sits in the root directory and contains crucial information used by browsers and search engine spiders to properly render your site. By adding a line of code to your .htaccess file, you can create redirects in an instant.
It’s important to know that the .htaccess file is specific to hosting services that use Apache. If your hosting provider uses NGINX — like Presslabs does — this method won’t work.
A warning before you begin: if you’re at all uncomfortable editing files via FTP, you might want to skip the .htaccess method and go for one of the plugins below. If you make even one small mistake, you could break your website. Proceed with caution.
To create a 301 redirect in WordPress using the .htaccess file, start by logging into your website via SFTP client. Go to the root directory of WordPress and scroll to the top. Make sure hidden files are enabled in your FTP client. The .htaccess file should be the first one in the list.
Using a plaintext text editor, edit the .htaccess file and add the redirect code at the bottom of the file. The redirect should look something like this, just add the relevant details from your site in place of the generic text:
RewriteEngine On
Redirect 301 /url-to-old-page/ http://www.full-URL-to-the-new-page.com/goes-here/
That should do it! Repeat the process for each of the pages you need to redirect. Save the .htaccess file and upload it to your server. The 301 redirects will activate immediately, and your SEO ranking will be secured.
#WordPress Redirect Plugins
An arguably simpler way of creating 301 redirects in WordPress is to install a plugin. This can prevent errors caused by faulty .htaccess edits, and it’s far more convenient if you have a lot of redirects to take care of.
There are thousands of WordPress plugins and dozens that handle redirects alone. Below are a few of our favorites that score well on ease of use. To add any of them, go to your WordPress dashboard, choose Plugins, select Add New, then search for the plugin by name.
-
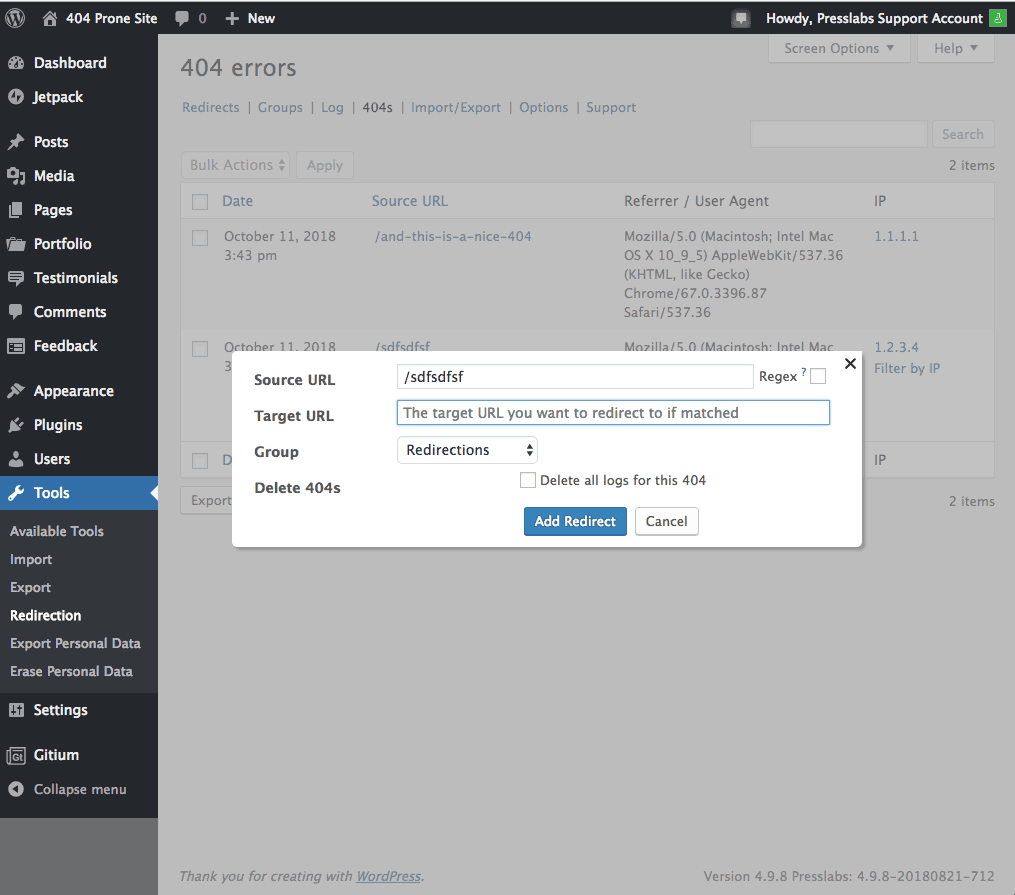
- Redirection – One of the most simple ways of adding redirects. Install it via the WordPress plugins dashboard, activate it, then visit the settings page. You can quickly add URL redirects from the clean interface, and even scan your site for 404 errors to make sure you didn’t miss any potential redirects.
It has more than 1 million active installs.
-
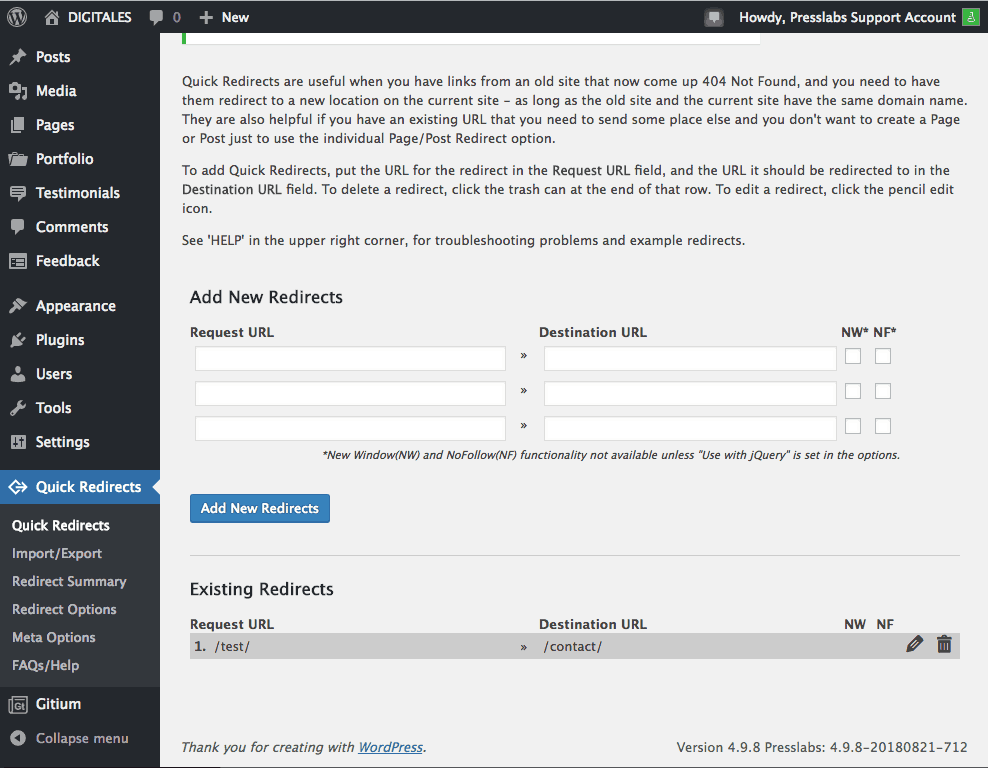
- Quick Page/ Post Redirect– An extremely popular redirect plugin itself, this handy extension lets you perform basic 301 redirects along with 302 and 307s, just in case. You can add quick or individual redirects on the fly, both for existing and generic locations.
The plugin is unfortunately not maintained, and it has not received an update for the last 3 major WordPress releases. This is not preventing 200,000 active installs for the plugin to be still around.
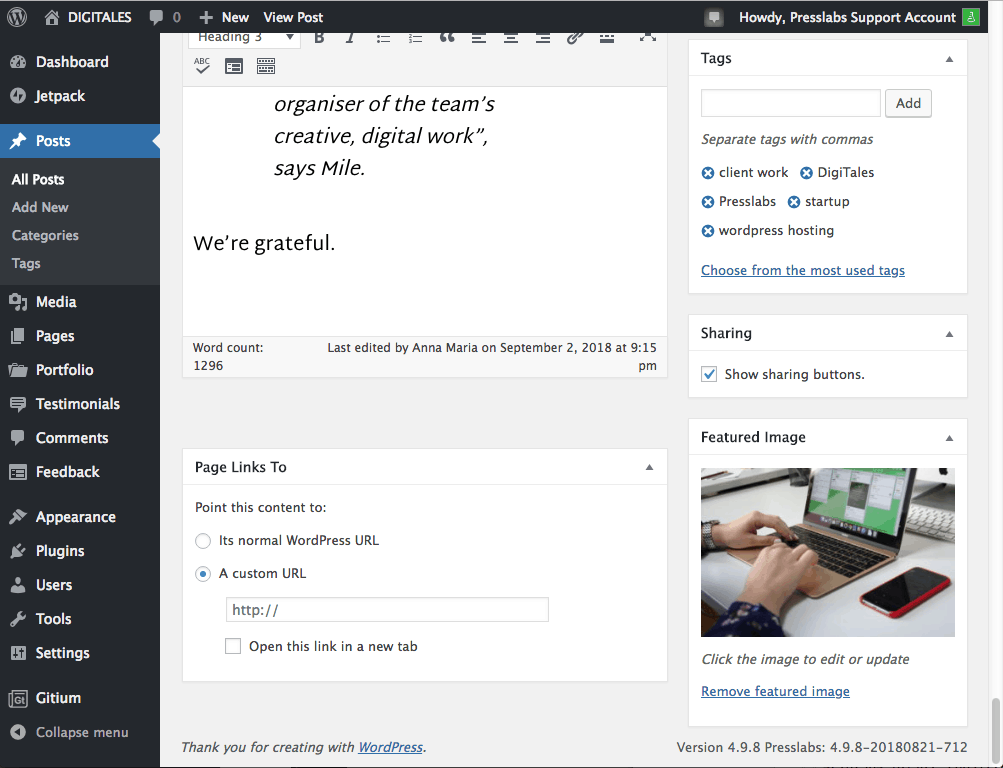
- Page Links To – A quick and simple plugin that lets you link a post or page to a new URL, including external URLs. This plugin does not handle 404s, so the redirection can be enabled only for existing content.
#How to use simple 301 redirects
This is one of the most straightforward WordPress redirect plugins around, hence the name. To get started, install and activate the plugin from your dashboard. Go to Settings > 301 Redirects and you’ll see the plugin’s straightforward interface.
Let’s say you want to redirect an old URL to a new one. We’ll use the following pair as an example:
websitename.com/old-link
websitename.com/new-link
We want to redirect the old link to the new one. From the Simple 301 Redirect interface, all we’ll need to do is copy the old link to the first box marked Request. In the Destination box, we’ll copy/paste the new link. You can use the entire URL if you like, including the websitename.com part, or simply add everything after the “/”, whichever is more convenient.
An advanced feature in Simple 301 Redirects is the wildcard tick box. Selecting this allows you to redirect an entire category of pages to a new category of pages. So, for example, if you have a grouping of posts in the Updates category, it might appear as something like this:
websitename.com/updates/post-title
websitename.com/updates/post-title2
websitename.com/updates/post-title3
If you want to redirect every post in this category to a new category, all you need to do is tick the wildcard box, then add the following:
Request: /updates/*
Destination: /new-category/*
After saving, you’ll have 301 redirects put in place for every post under the old category, instantly moving visitors and search engine spiders to the new category and same post title. Nice and simple.
#Use the WordPress redirect function
It’s not used that often, but WordPress does have a built-in redirection function called wp_redirect that can send users from one page to another in an instant. You can add this directly to your active theme’s header file for a quick 301 redirect solution. It only takes a moment, and it’s not too technical.
To start, open the WordPress file editor and look for the header.php file for your current template. Next, look for an empty line and add the following code, changing the URL to match the new destination you want visitors to be redirected to:
wp_redirect( "http://www.my-website.com/my-blog.com/a-new-destination", 301 );The first part calls the function, while the next shows where to redirect users. The 301 code at the end tells search engine crawlers how to interpret the redirect, which in this case, is permanent. Also, if you add this code in header.php, it will redirect the entire site to the new URL.
#Create WordPress redirects with Yoast
The Yoast SEO plugin is one of the most popular general purpose admin and SEO additions to the WordPress catalog. It handles a ton of common tasks website owners need for maintaining a working publication, including SEO rank via redirects.
Yoast SEO’s redirect manager is only available to premium users, making it one of the less accessible methods discussed in this article. You can’t argue with its effectiveness, however, especially coming from the SEO experts at Yoast.
Once you have Yoast SEO installed and the premium version activated, the plugin will quietly monitor page and post deletions each time they occur. When you do remove content, Yoast SEO will immediately ask if you want to create a redirect, preventing dead links before they’re even created.
The redirect manager from Yoast also allows admins to get an overview of all redirects, even manually edit, import, and export commands in bulk. If you have a seriously impaired site that needs a lot of redirection attention, it wouldn’t be a bad idea to grab Yoast SEO premium to fix things up quickly.
#Conclusion
WordPress redirects aren’t a complicated topic, but they’re often overlooked by both casual and professional site owners. It’s of vital importance to ensure your publication is as free from dead links and 404 error pages as possible. By using any of the tools or methods above, you can keep your site alive and humming with as little effort as possible.

